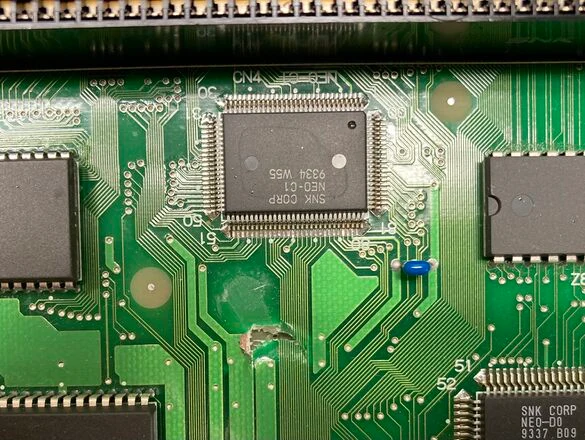
The top shell of the Neo Geo AES has an internal plastic standoff located in the center, right near the cartridge flaps. While this may have been added to provide extra structural support to the case, it can cause pressure to be put on the top of the PCB, which can eventually cause important traces to be severed or rubbed off. If the console takes a hard physical hit, it can also puncture the motherboard, necessitating a difficult repair. This has led to the standoff being nicknamed the "killer standoff". To prevent this catastrophic damage, removing this standoff is absolutely vital.
Credit to FirebrandX for the original guide.
Removal Procedure
- Disassemble the AES by removing the four (or five, depending on revision) JIS screws on the underside. Most of these screws are hidden underneath the rubber feet, except for the corner with an exposed screw.
- With the top shell removed, locate the problematic standoff in the center. Some AES revisions even have a foam pad on the motherboard which contacts this standoff (see Fig. 1).
- Use any cutting tool to trim some of the standooff down or completely remove it. Be careful as the plastic on some AESes is brittle, and if not done properly you may cause actual damage to the top shell. You may also want to wear safety goggles in case any debris goes flying.
- Note that precision isn't necessary with removing the standoff (see Fig. 2).
- When the standoff is removed, clean off any remaining debris and reassemble the AES.
Gallery
-
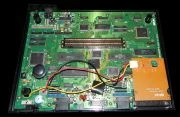 Fig. 1. The motherboard of an AES, with a foam pad present where the "killer standoff" comes into contact with the motherboard. Note how the pad has an imprint of the standoff.
 -
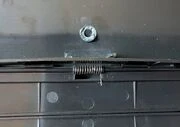 Fig. 2. The top shell of an AES after the removal of the "killer standoff".