Original guide created by Redteck. This is a placeholder guide.
His YouTube video will be linked below.
Required Tools
 Philips-head bit screwdriver
Disassembly
| Phillips (5x) | |
 | |
| Screw Information | |
|---|---|
| Count | 5 |
| Screw head | Phillips |
| Diameter | Placeholder |
| Spacing | Placeholder |
| Length | Placeholder |
| Color | Silver |
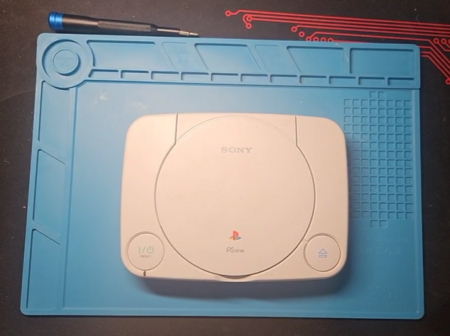
- Remove any disc from inside the console.
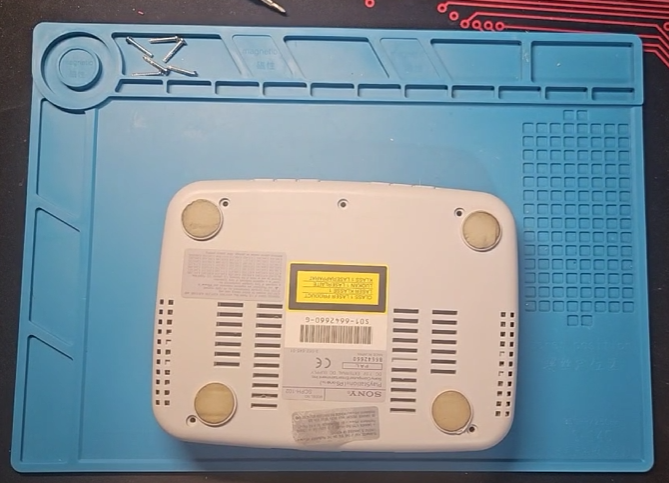
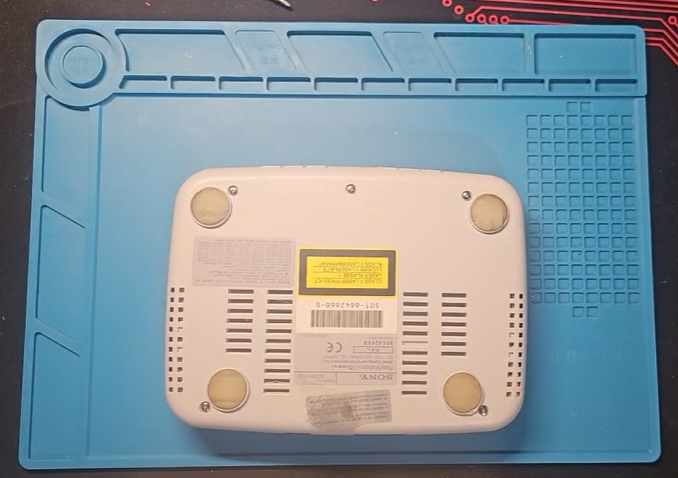
- Flip the PlayStation over and remove the 5x Philips screws from the bottom.
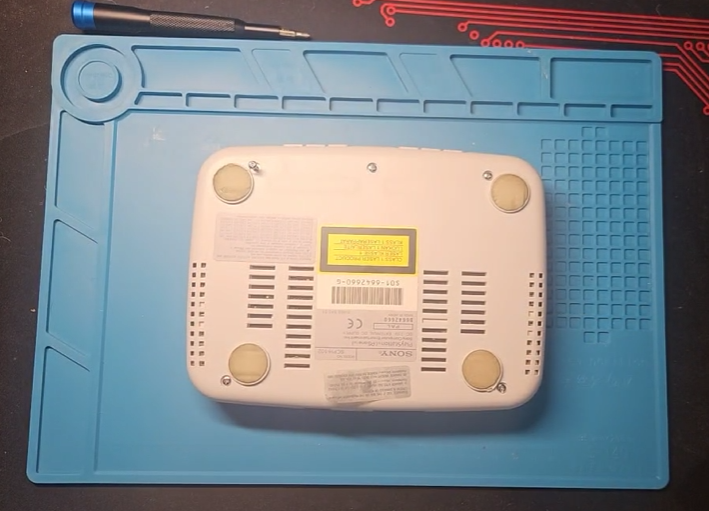
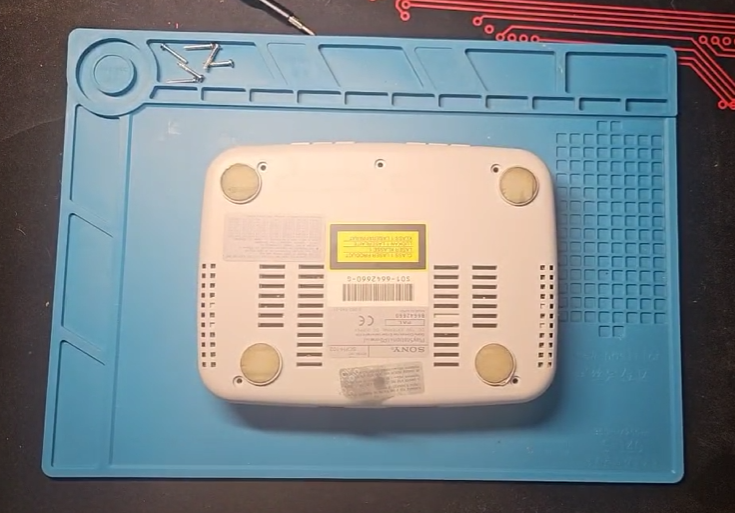
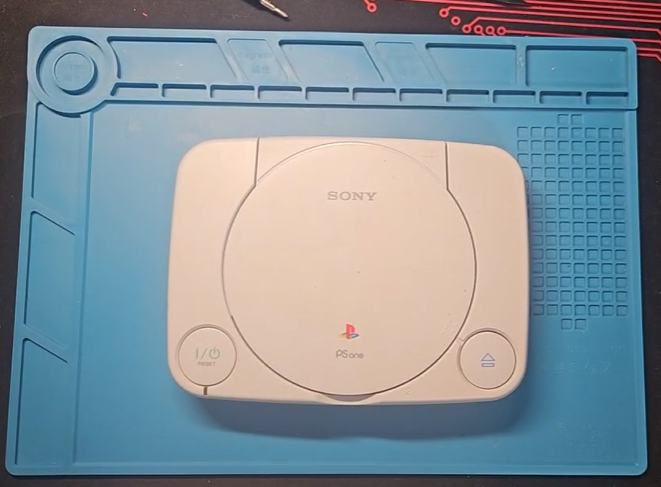
- Flip the PlayStation back upright and lift the top shell off.
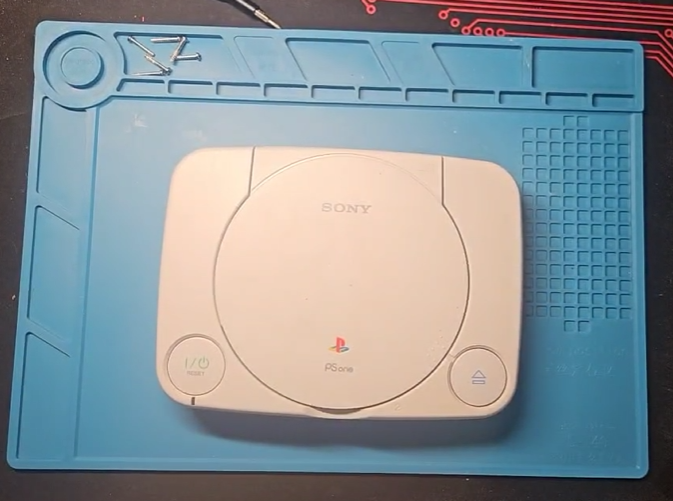
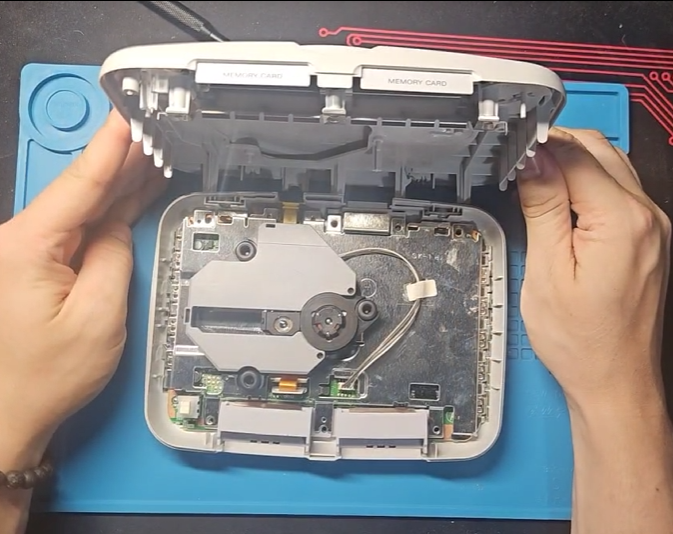
- Remove the laser assembly cable and lift the laser assembly straight up out of the console and set it aside.
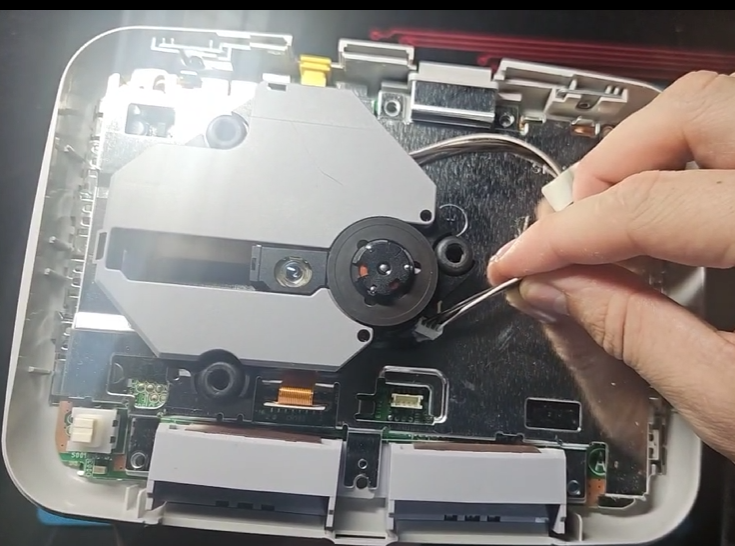
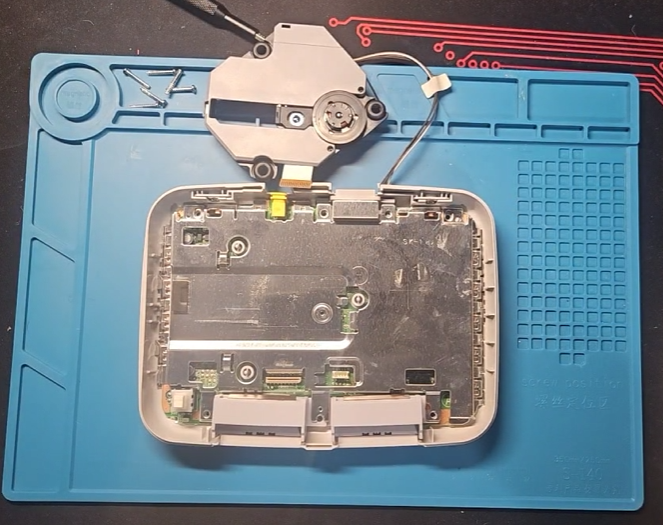
- Lift the metal shielding straight up and out of the console and set it aside.
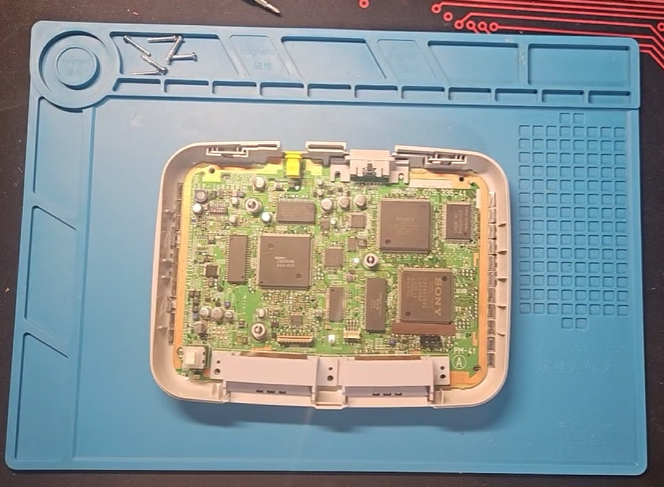
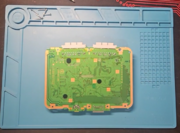
- Grab the AV multi-out port on the back of the console and lift to hold the motherboard at an angle to release the motherboard out of the bottom shell.
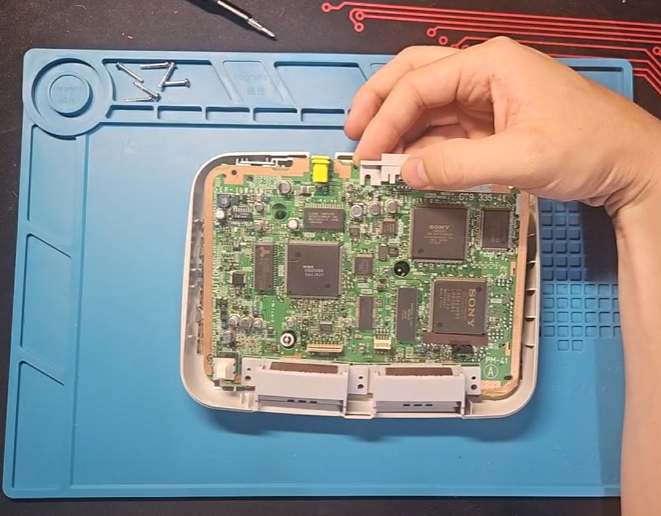
Reassembly
- Place the motherboard into the bottom shell.
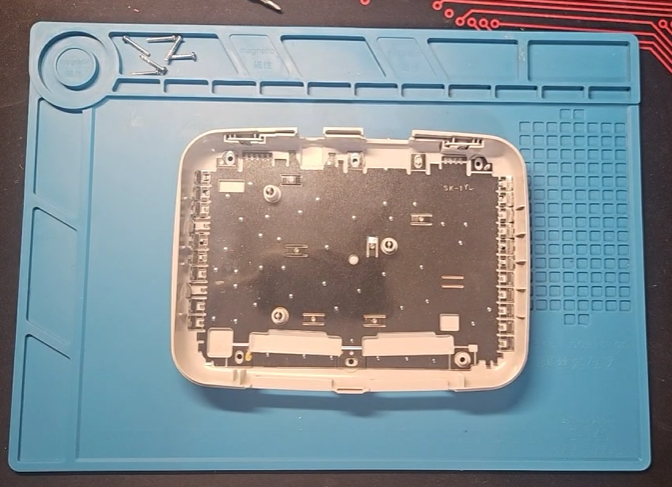
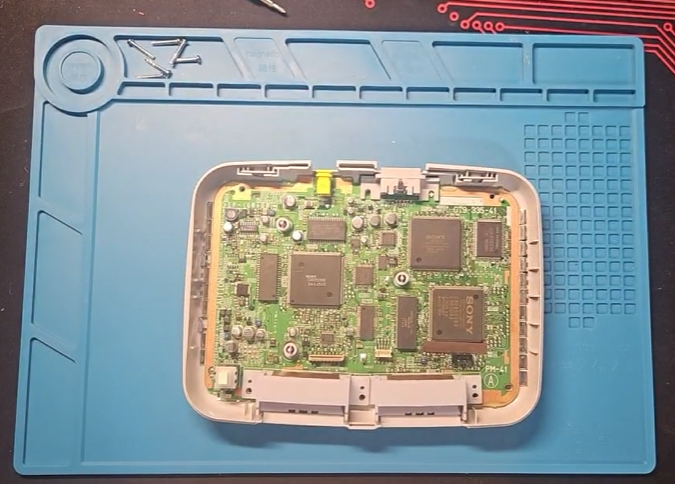
- Place the metal shielding onto the motherboard.
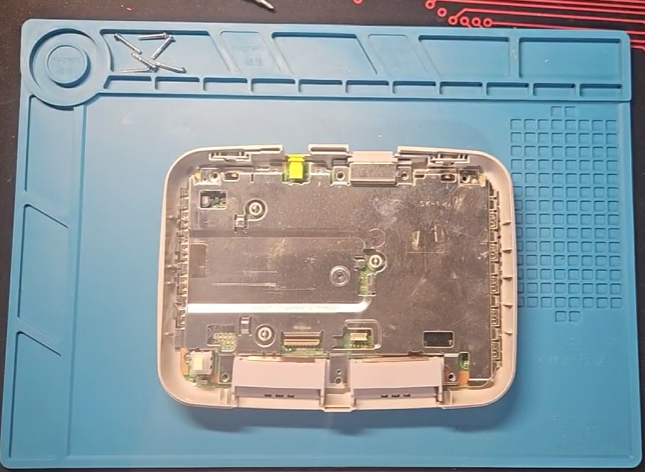
- Place the laser assembly onto the three posts on the motherboard.
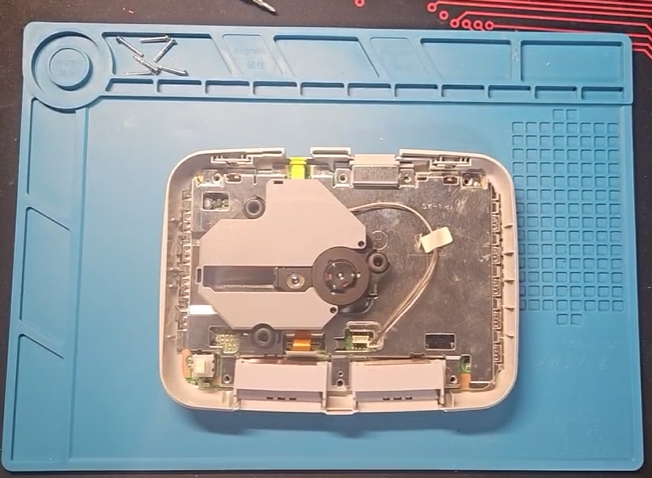
- Plug in the wire attached to the laser assembly.
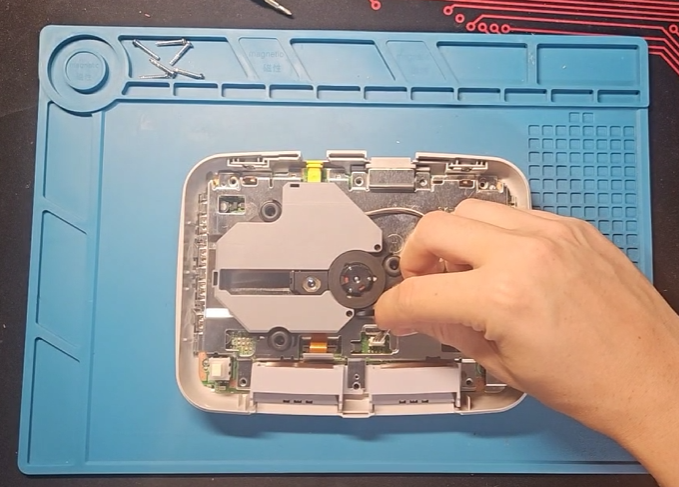
- Plug in the orange ribbon cable.
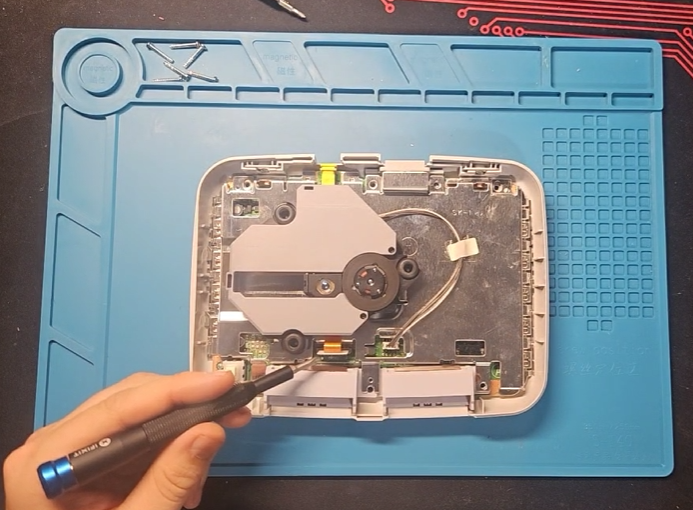
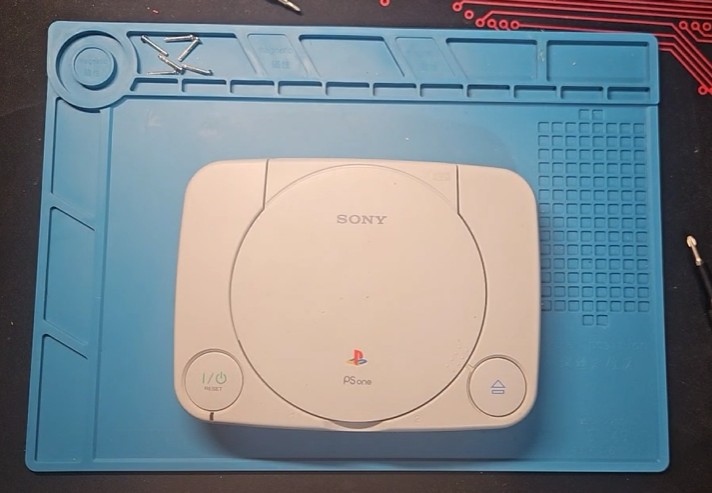
- Place the top shell over the motherboard.
Phillips
(5x)Screw Information Count 5 Screw head Phillips Diameter Placeholder Spacing Placeholder Length Placeholder Color Silver
- Flip the console over and screw in the 5 Philips screws.