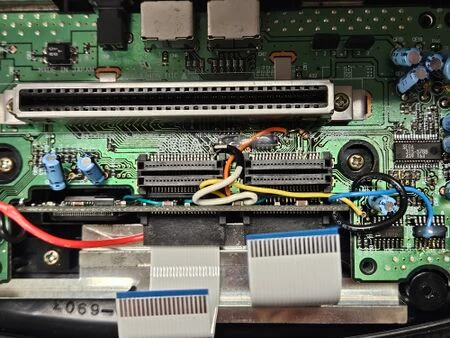
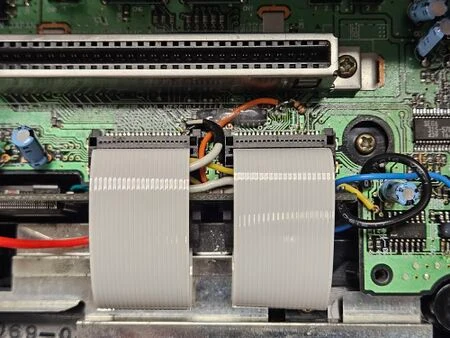
The 32X passes nearly all of its signals through two double sided 40 pin ribbon cables. These cables tend to be unreliable, resulting in erratic and inconsistent 32X behavior, or completely cause a black screen. Fortunately, these cables can be easily replaced with brand new parts.
Keeping Original Ribbons Functional
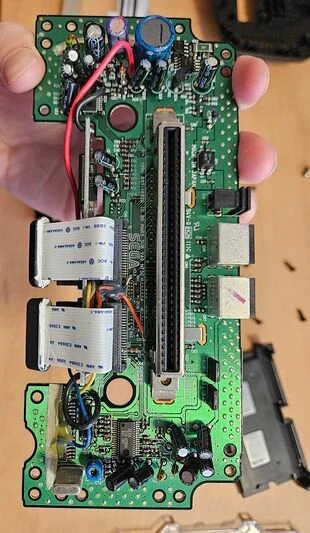
The original ribbon cables are a strange design, being double sided and 40 pins each, Sega also glued ferrite rings around each cable in order to improve signal integrity. It is possible to clean and get these to work if they are not too far gone. Cleaning the contacts of the cable with 99% Isopropanol, and spraying DeoxIT or other contact cleaner in the ribbon cable sockets can help keep original cables functional, but oftentimes it becomes impossible to keep the originals working reliably, requiring replacement.
Replacing The Cables
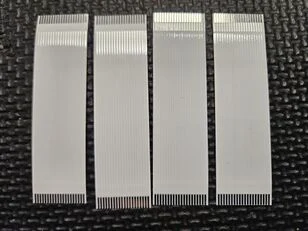
It is currently impossible to find exact replacement ribbon cables due to the unorthodox design of them. However, brand new compatible replacement cables can be found
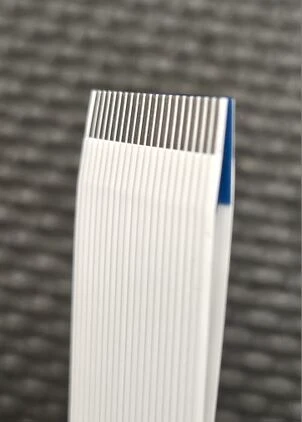
| Molex 15267-0359 | 4 (2 per original ribbon) |
|---|
Install Instructions
- Take two ribbon cables, and place them back to back such that the contacts face away from each other
- Insert this assembly into one of the 32X main board (small one that connects to Genesis) ribbon cable sockets, making sure to keep the pins lined up
- Repeat the previous step on the other main board connector
- OPTIONAL: Remove the original ferrites from the 32x cables, and glue them to the new assemblies
- Grab one ribbon cable pair, and while keeping it held together, insert it into its associated sub board connector
- Repeat the previous test with the other pair of ribbon cables
- reassemble and test
Be sure when installing the cables to keep them pressed together so that one side does not slip and fail to make contact with the connector. Be sure to clean the 32X edge connector and cartridge slot to ensure continuing reliability of the 32X system.