This guide covers replacing the thumbstick modules on an Xbox One / Series controller to permanently fix stick drift and provide the most accurate tracking experience using hall effect joysticks. Previously, you had to use calibration flex boards that attach to the underside of the thumbsticks. However, the Xbox Accessories PC application now supports recalibration of the deadzone and circularity of thumbsticks.
Required Materials
- Hot air station and desoldering pump OR desoldering iron
- Soldering iron
- Kapton tape
- Isopropyl alcohol and cotton swabs
- USB cable to connect your controller to a PC
- (Optional) Chip quik or similar low-melt solder paste
Installing Thumbstick Modules
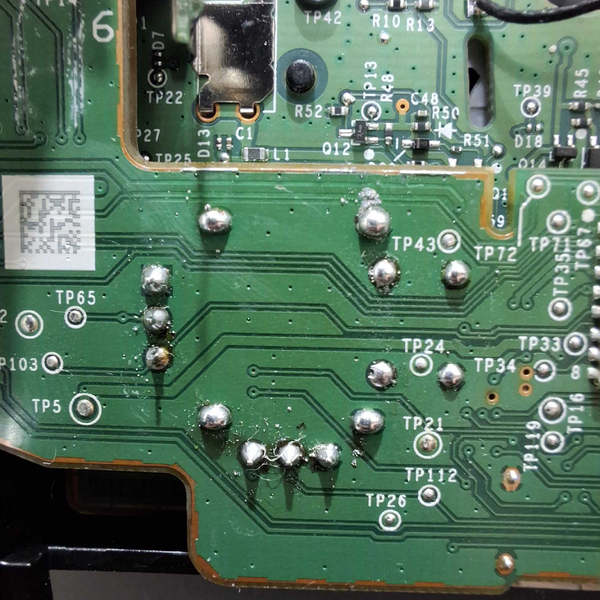
- Disassemble your controller to get to the controller motherboard and expose the bottom side of the thumbsticks.
- Use kapton tape to cover all nearby components from hot air.
- Apply chip quik to the pins of the joysticks. Use hot air or a desoldering iron and lightly pull to remove each thumbstick.
- Clear each thru-hole using a desoldering pump or a desoldering iron.
- Clean the area with isopropyl alcohol and cotton swabs.
- Insert the new joystick and solder into place.
Calibration
 | Sometimes when going through the calibration process with the official Xbox Accessories app, your controller may suddenly not be detected as an Xbox controller and the thumbsticks may act strangely with one direction always being held. If this happens, go through the calibration process again for the affected thumbstick. |
- Connect a USB cable to the controller and your PC.
- Open Gamepad Tester and press a button on the controller to connect it. Check the "Test circularity" box and move your thumbsticks to observe the current state of the circularity and deadzones.
- Open the Xbox Accessories application, click "...", and choose Update Now (if available) and allow it to update.
- Click "..." and choose "Recalibration options", choose Left stick and follow the prompts to calibrate the controller.
- Click "..." and choose "Recalibration options", choose Right stick and repeat the calibration process.
- Check Gamepad Tester again and see if circularity is improved. If you aren't happy with the results, you can run through the recalibration process again.
Thumbstick Fix PCB
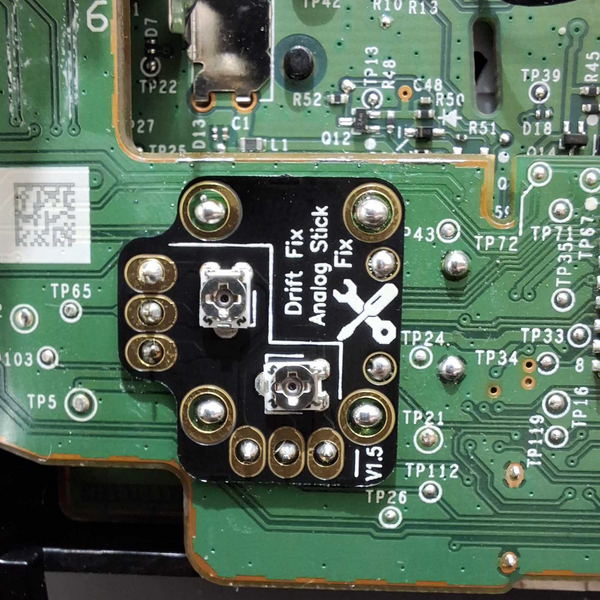
If your thumbsticks are wildly off center or the thumbstick inputs are inverted, you may need to install an Analog Stick Drift Fix PCB by Helder. Place the PCB over the pins of the thumbstick and solder it into place, then with the controller powered on, turn the two potentiometer knobs until the stick inputs are centered.